Inventory List
The following items are included within the black zipper bag
| One Person Kayak | Two Person Kayak | Three Person Kayak |
| 1x inflatable kayak 1x pump 1x hose with ring gasket 1x seat 1x foot rest 1x fin with attached small bolt and flat threaded nut |
1x inflatable kayak 1x pump 1x hose with ring gasket 2x seat 2x foot rest 1x fin with attached small bolt and flat threaded nut |
1x inflatable kayak 1x pump 1x hose with ring gasket 2x seat 1x small centre seat 2x foot rest 1x fin with attached small bolt and flat threaded nut |
Instructions:
Pump Instructions:
- ***Please do not kink the hose. Have hose detached from the pump when not in use
- To Inflate – Attach the hose’ threaded end to the black connection point.
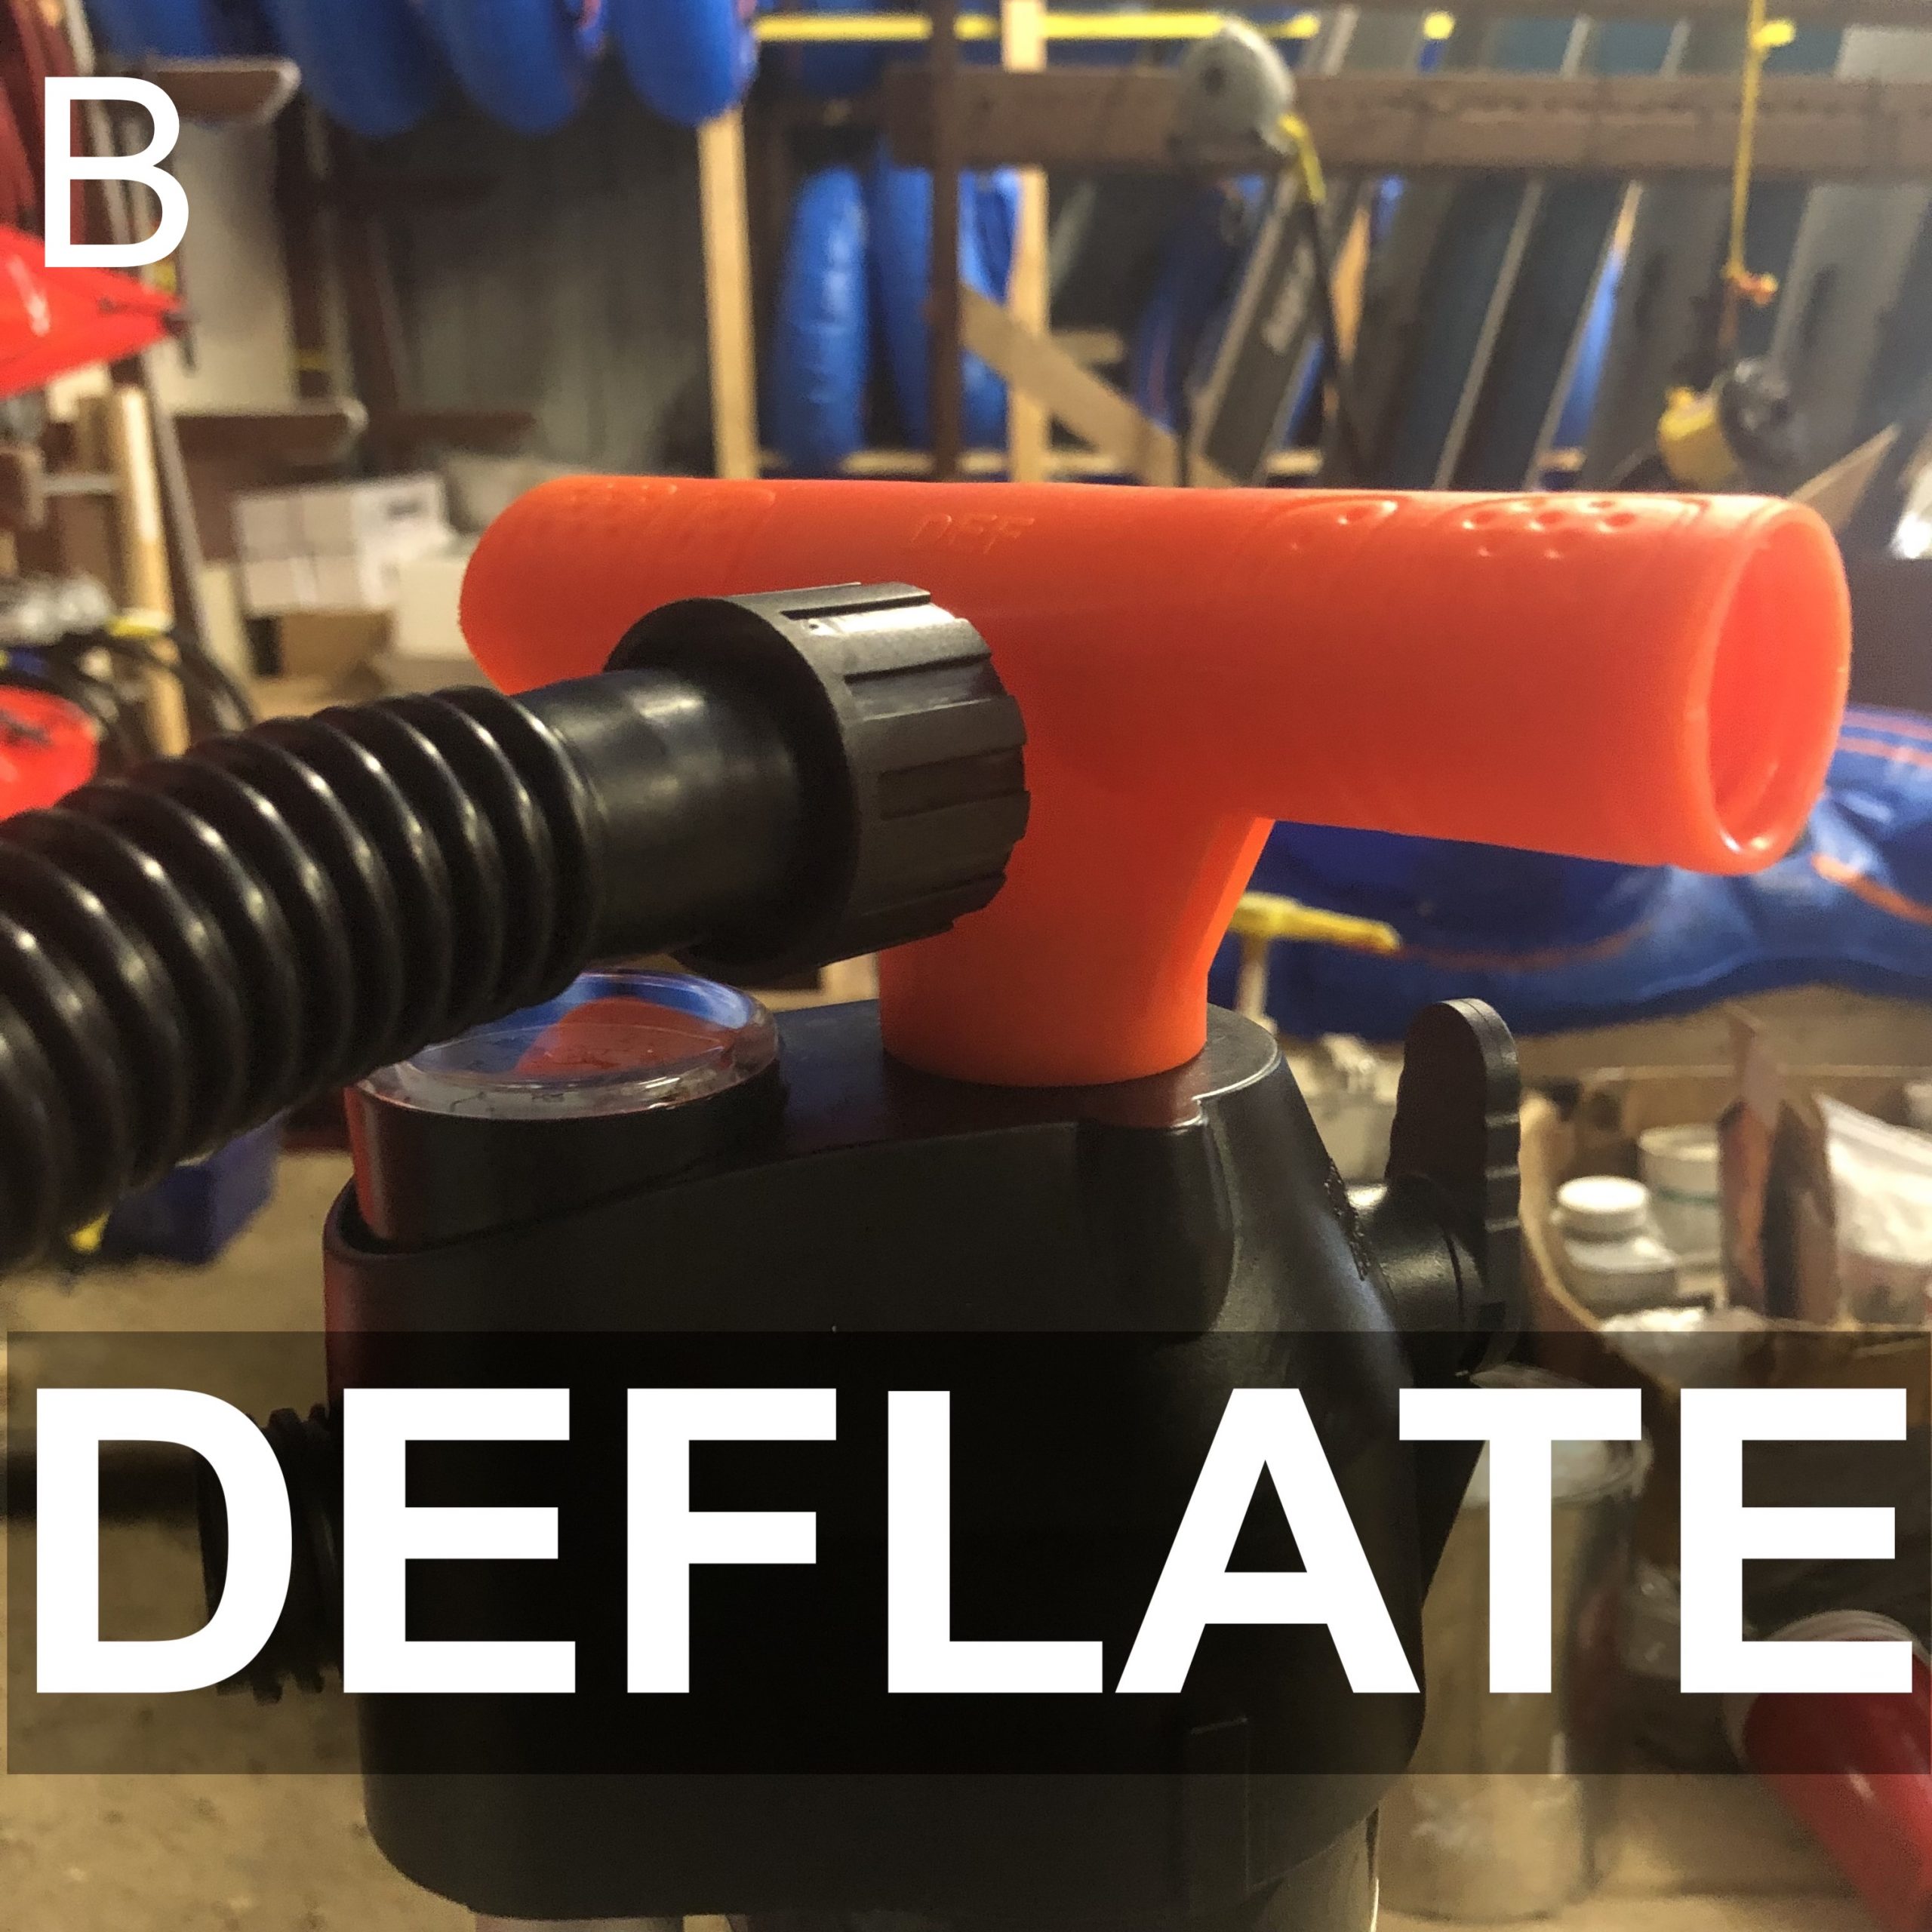
- To deflate – Attach the hose’s threaded end to the orange connection point.
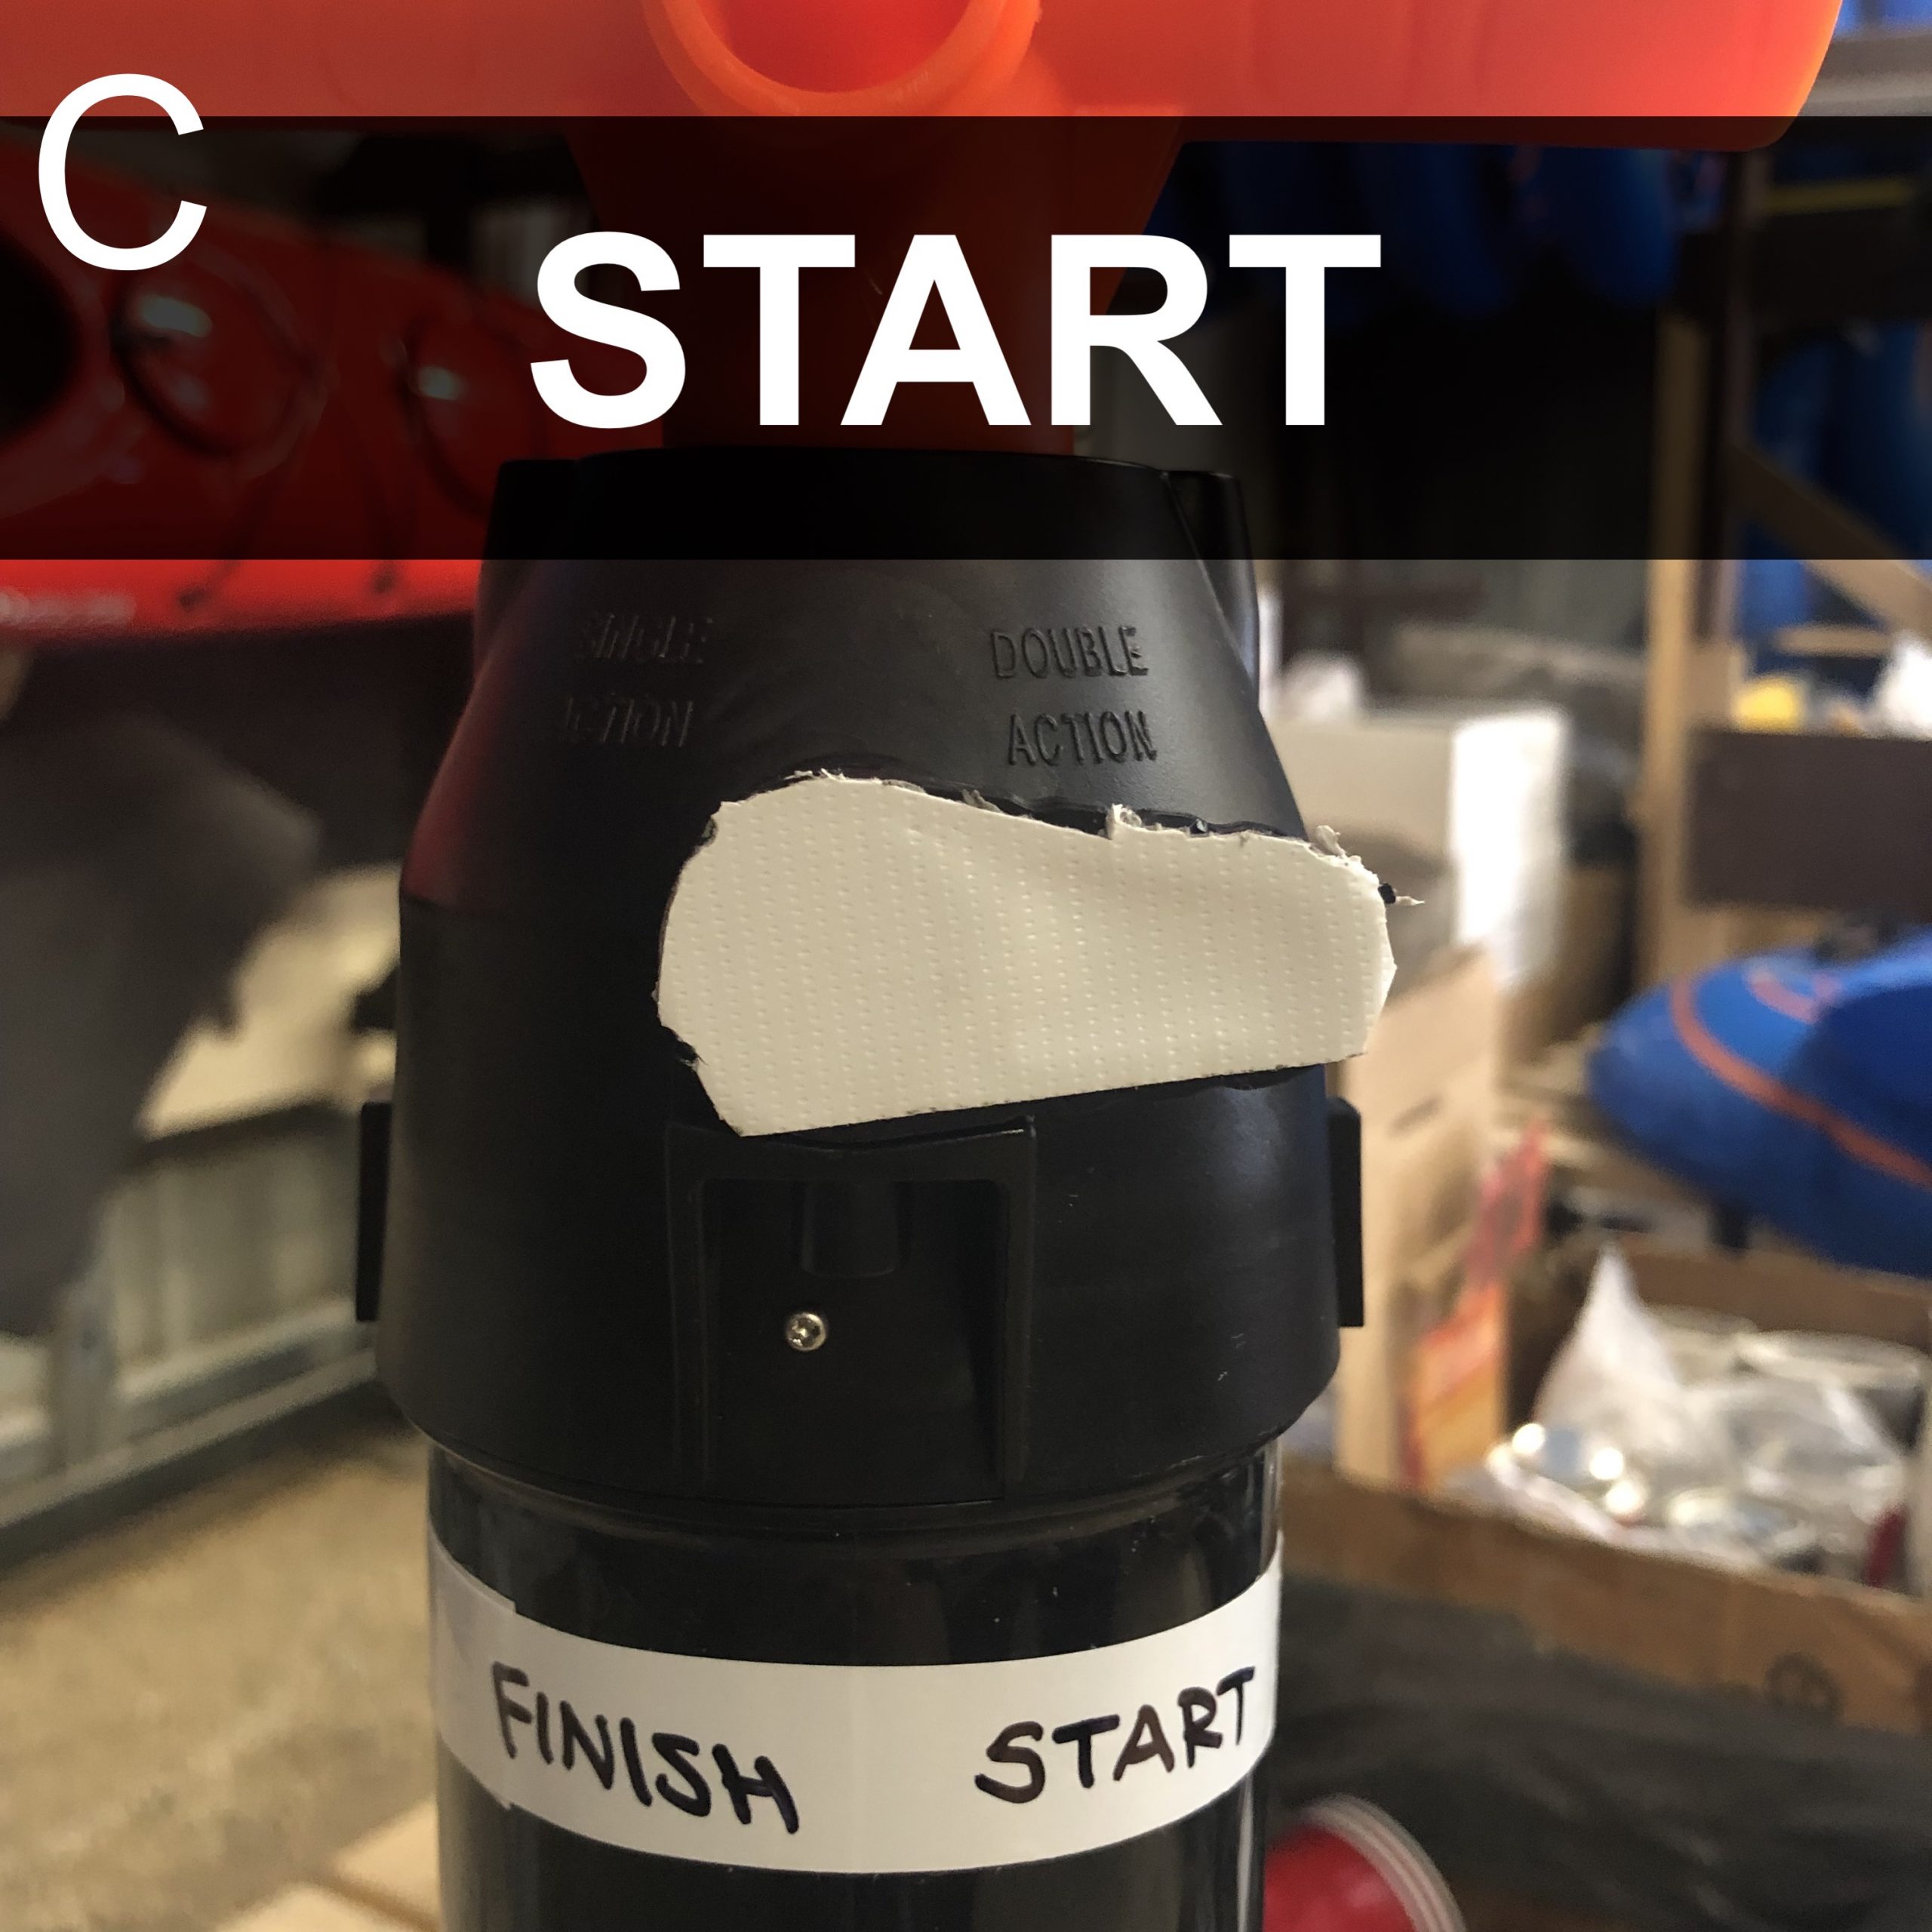
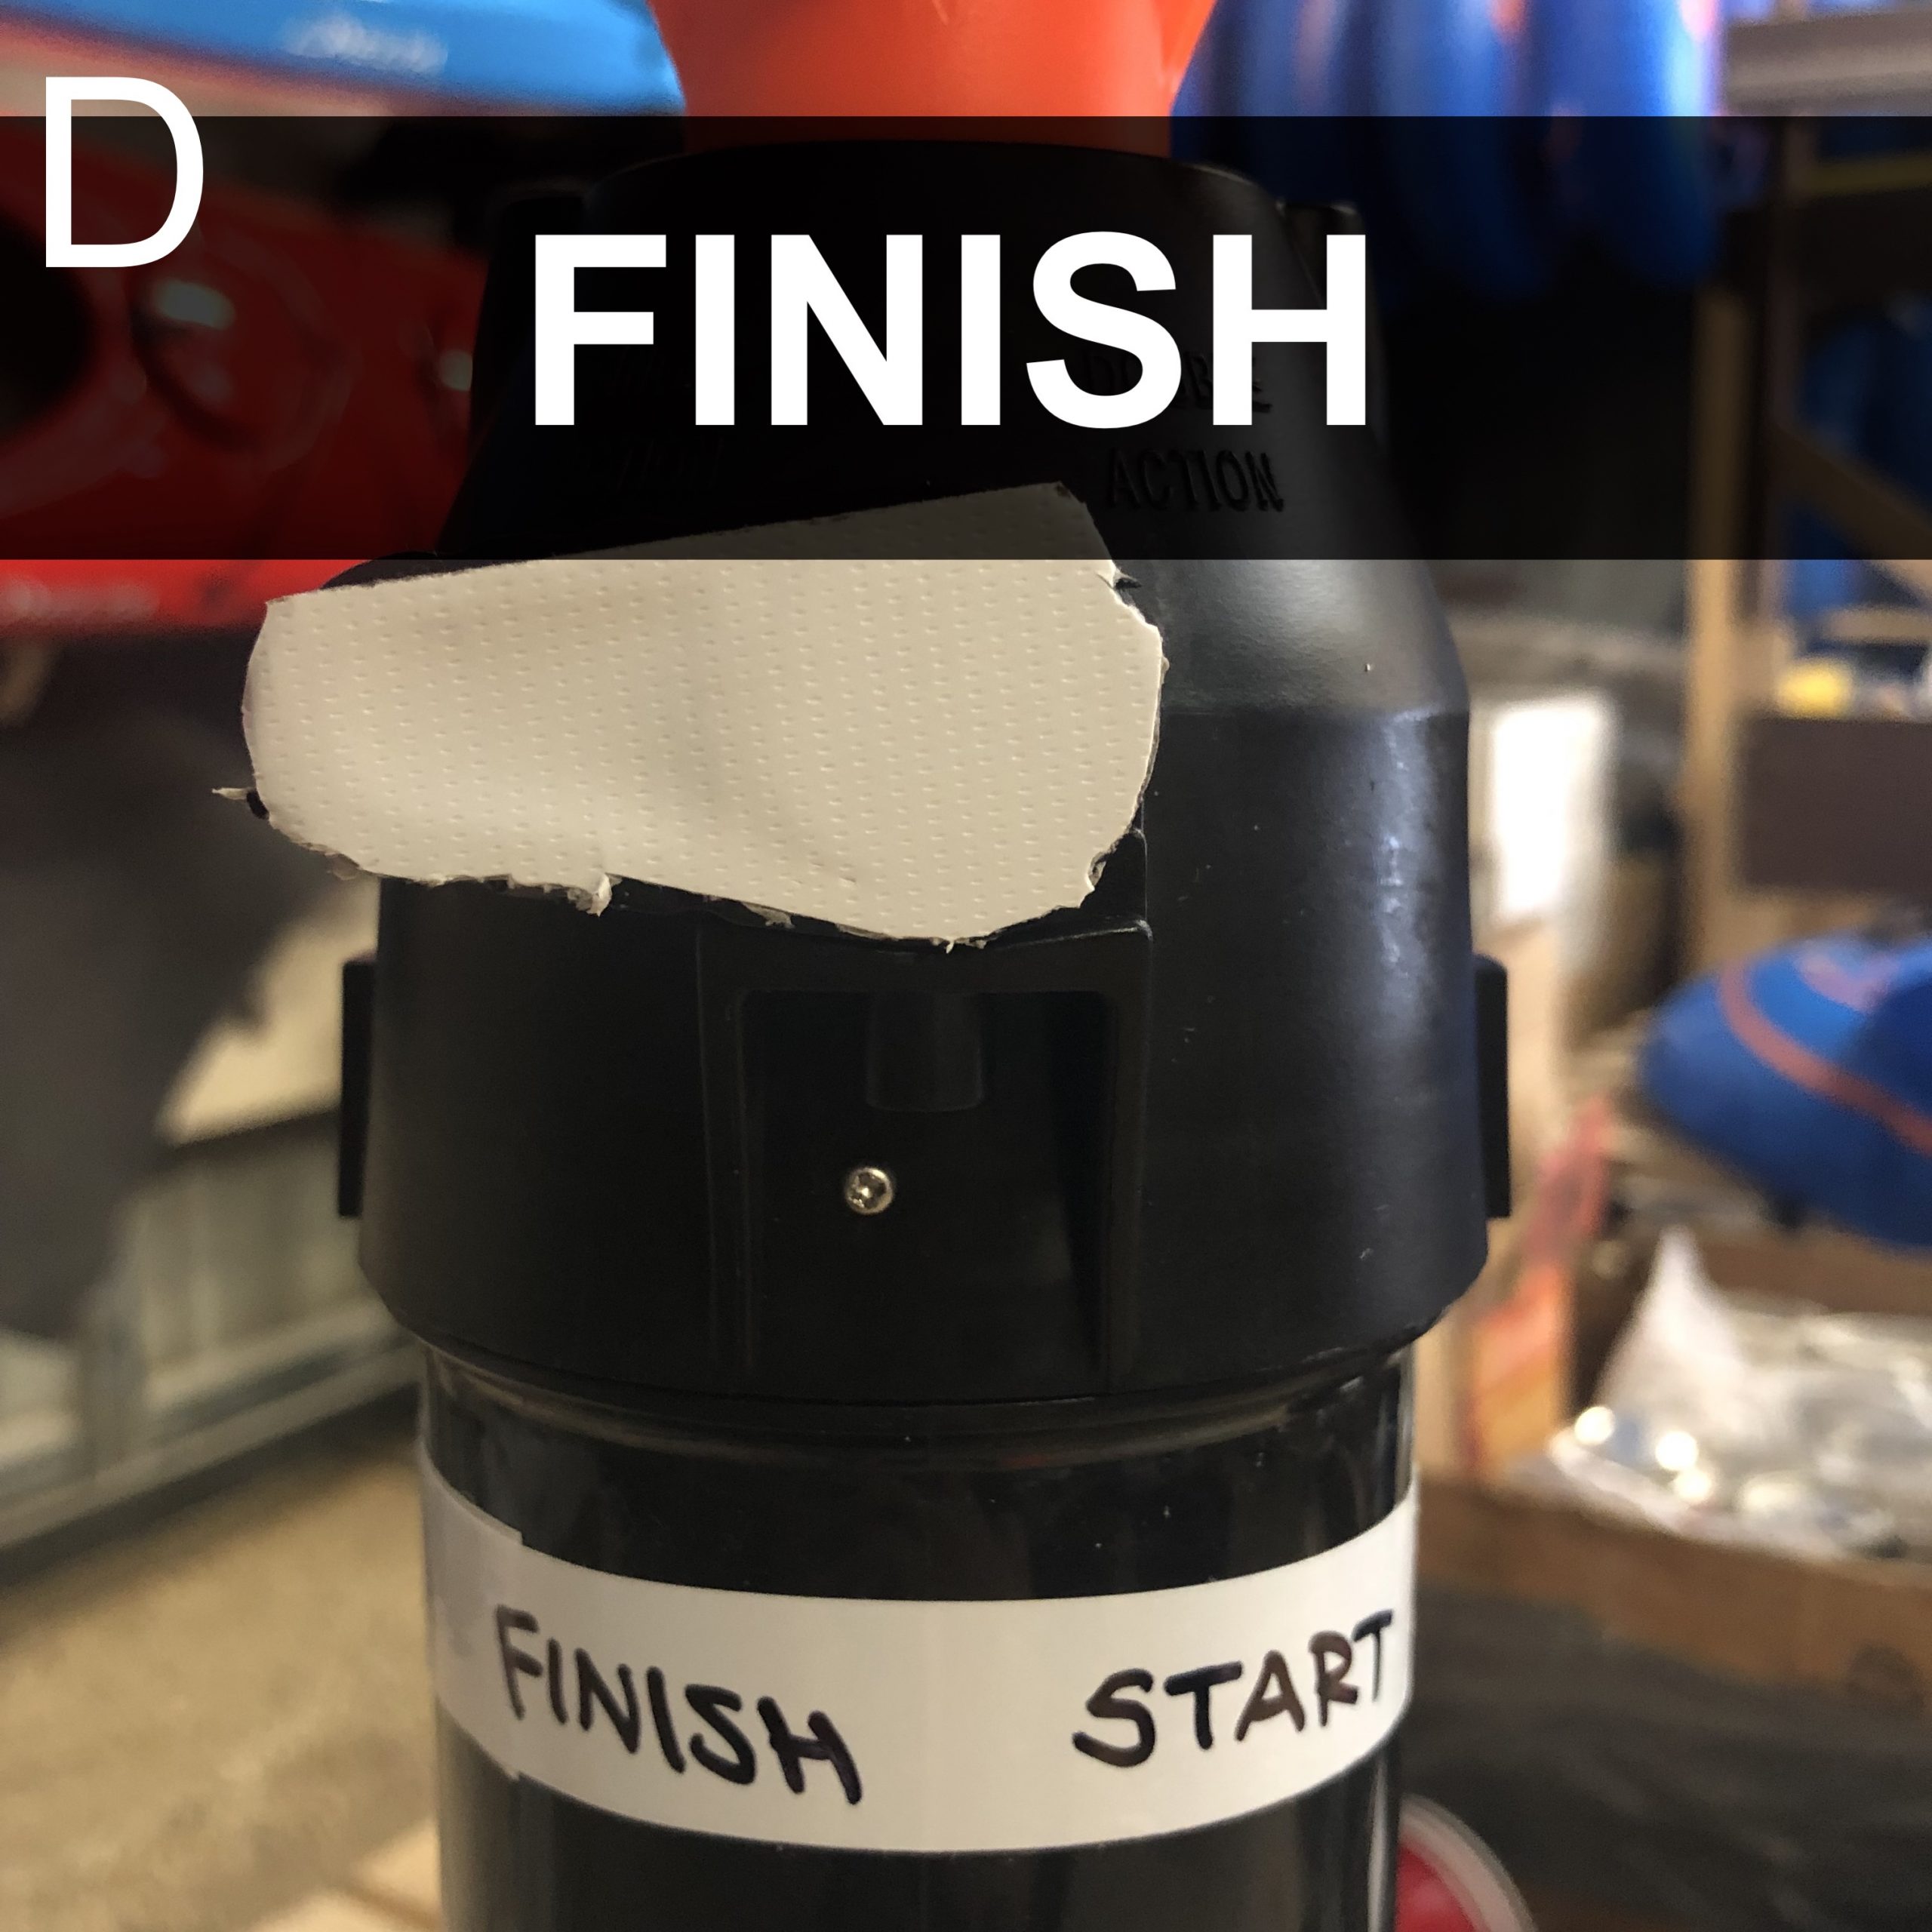
- Finish position – Allows pump to reach a higher pressure at decreased input effort.
- Start position – Allows fastest pump speed
 |
 |
 |
 |
Valve instructions:
|
  |
INFLATING instructions:
|
 |
 |
Fin Instructions:
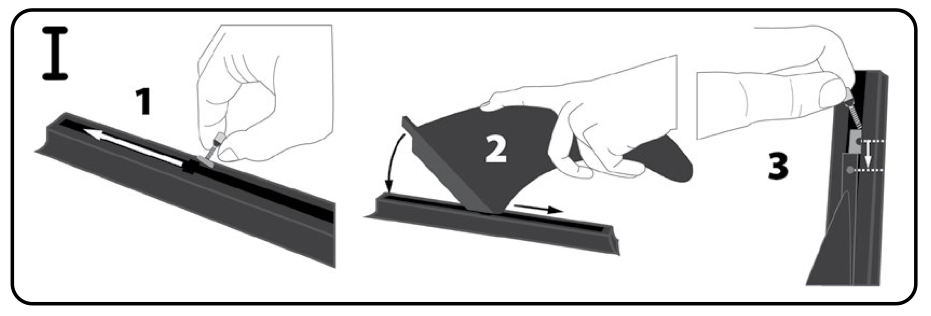
- Roll the kayak over to expose the bottom. Remove the bolt and the flat rectangular nut from the fin.
- Re-connect bolt and nut loosely (1 or 2 turns)
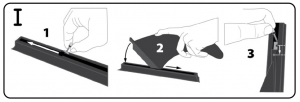
- Use the bolt as a handle to insert the flat nut into the opening of the fin-box and slide the flat nut as far forward as possible. Unscrew bolt leaving flat nut in place at front of fin-box. [figure I]
- Locate the fin’s horizontal pin. Starting with this pin, insert the fin into the opening in the fin-box and slide backward until the front of the fin can be pressed down into the box.
- Align hole in the fin with hole in the flat nut and insert the bolt. Tighten to secure.
Deflating and Packing:
- Remove the fin, and replace the bolt and nut onto the base of the fin, tight enough that it wont vibrate lose.
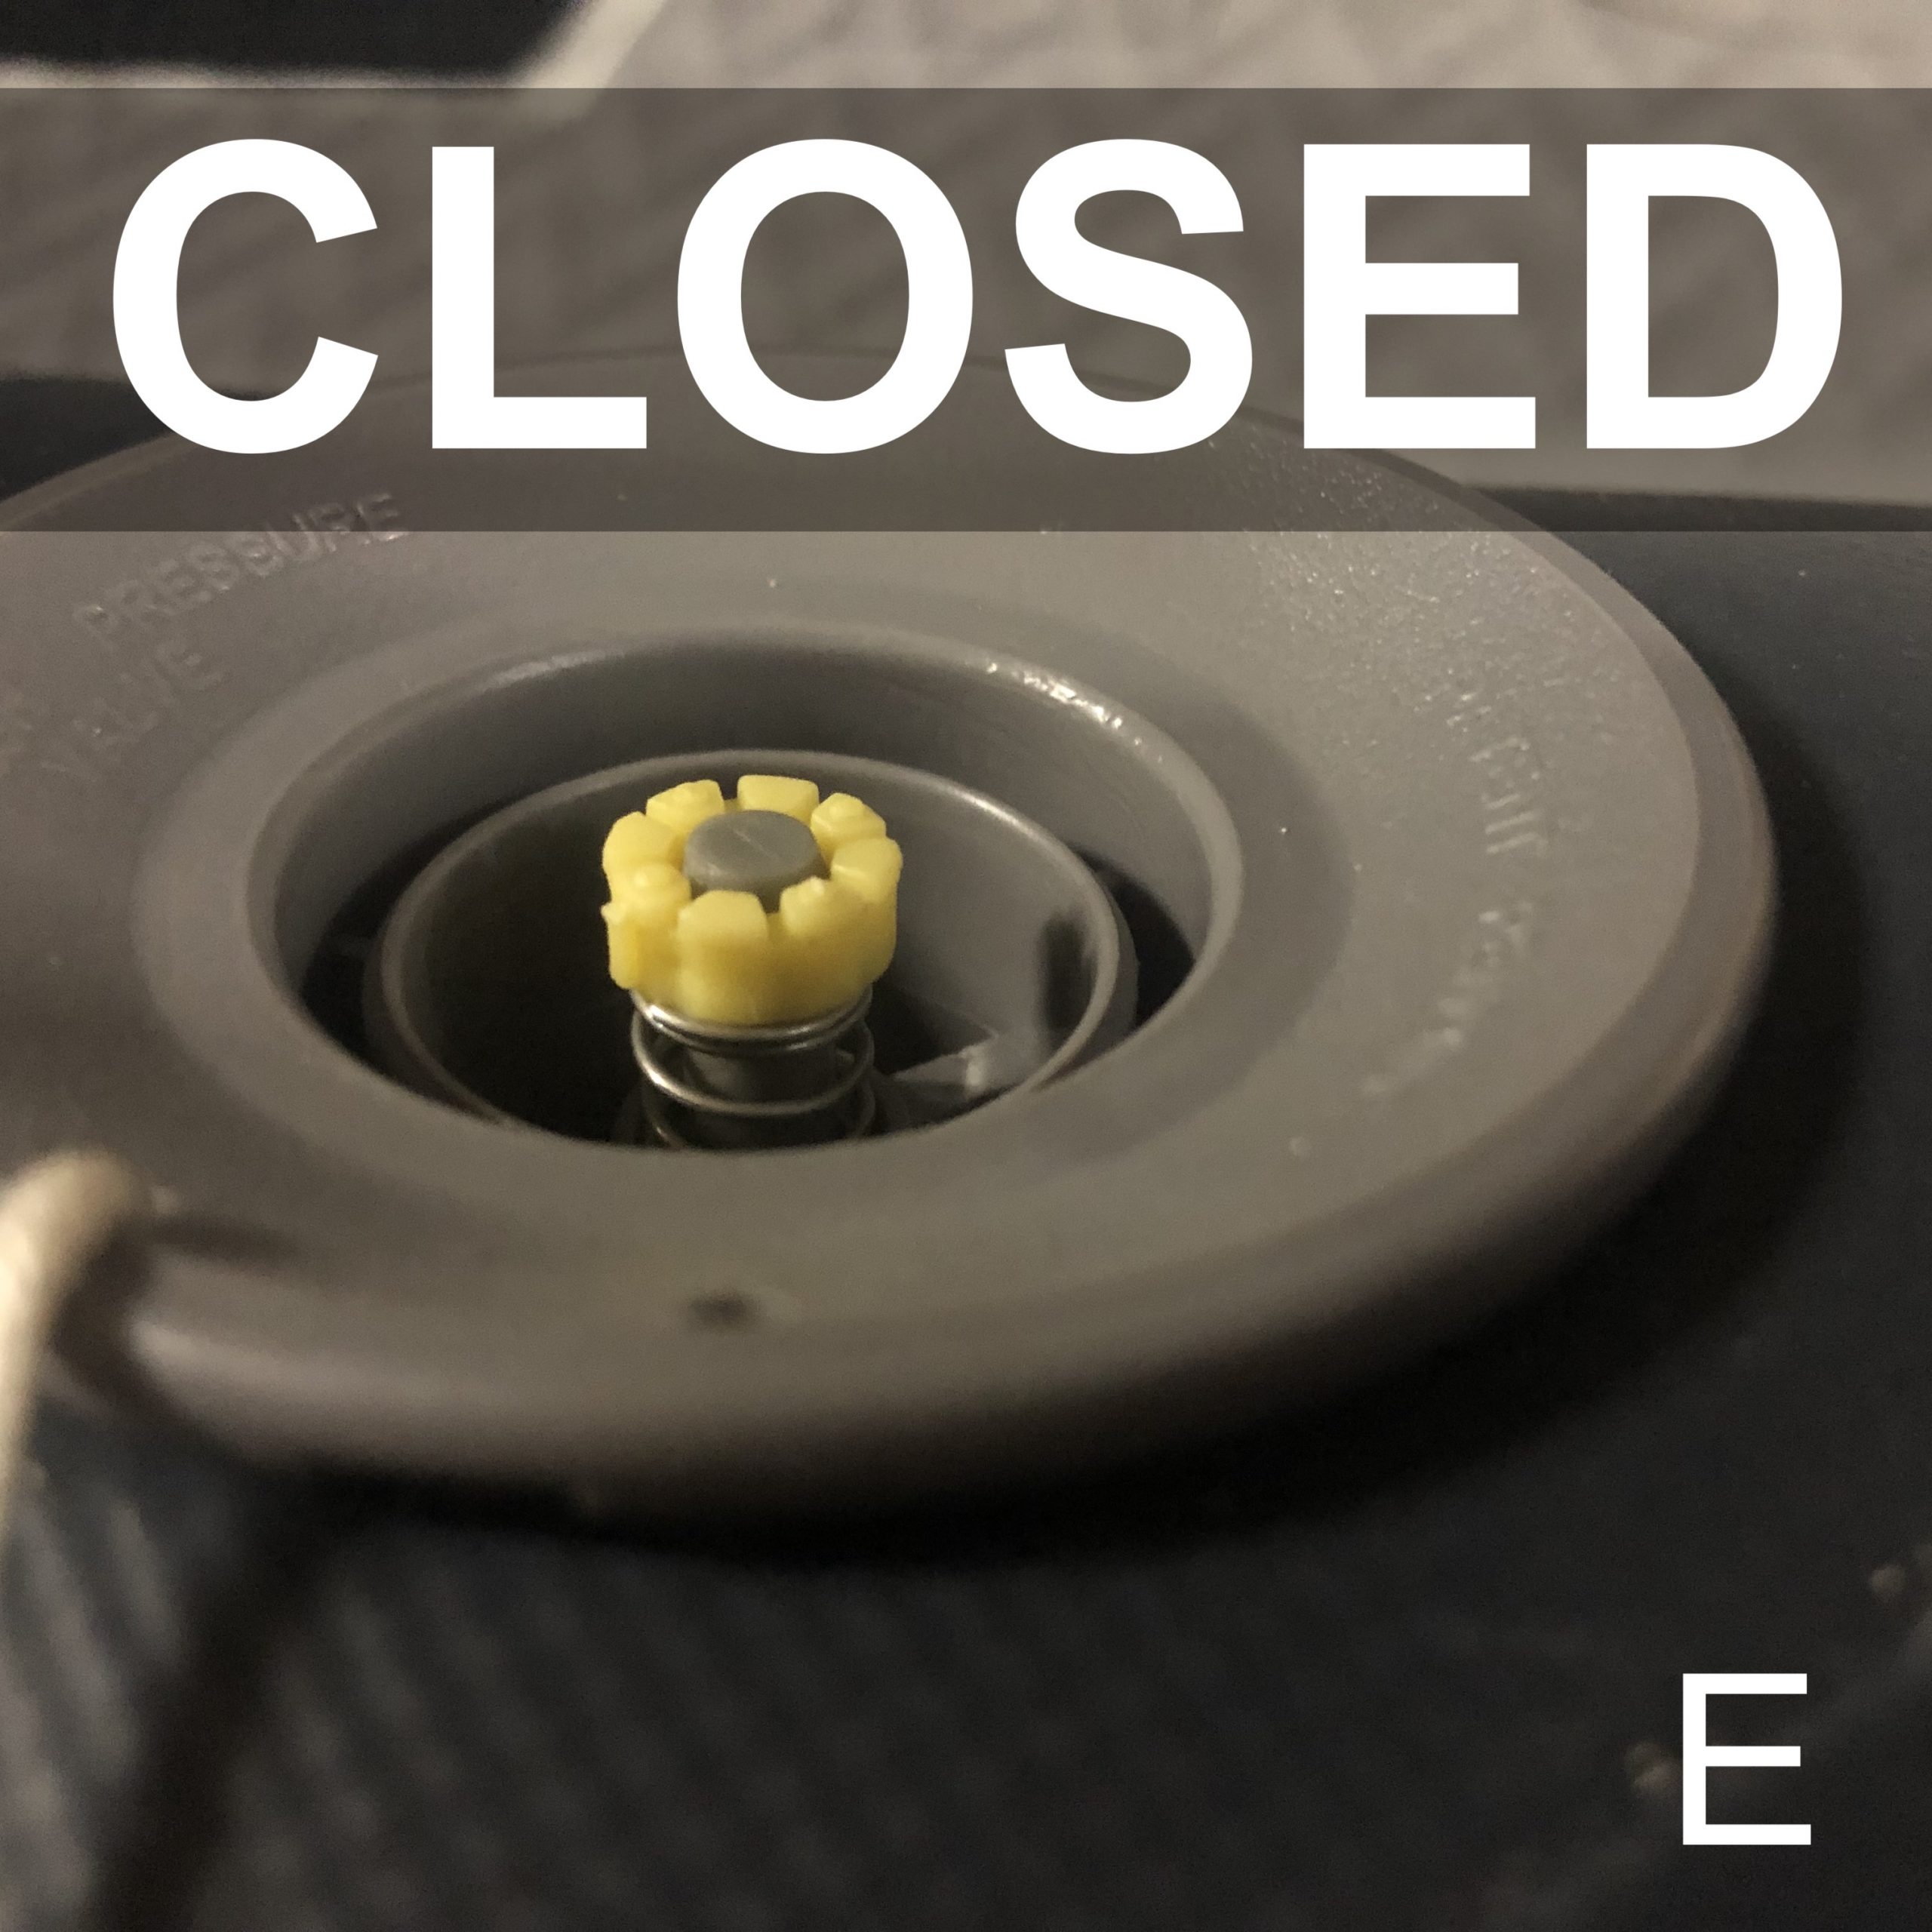
- Ensure valve is open (push in and turn) to allow deflation to begin
- Once mostly deflated, close valve (turn pin valve till it pops back up)
- Attach hose to the orange connection on the pump
- Use pump to finish deflation (please do not over deflate)
- With the kayak on the right side-up, fold the kayak starting from the rear (allow the fin box to determine the length of the fold)
- Place the rolled up kayak into the kayak bag, and ensure all accessories are returned as well. (Please detach the hose from the pump before putting it in the bag)
Remember:
- Have kayak in knee deep water before getting in or out
- Do NOT ram or slide across the shore as this can damage the boat and/or fin
- Never paddle in shallow water. Walk through shallow waters
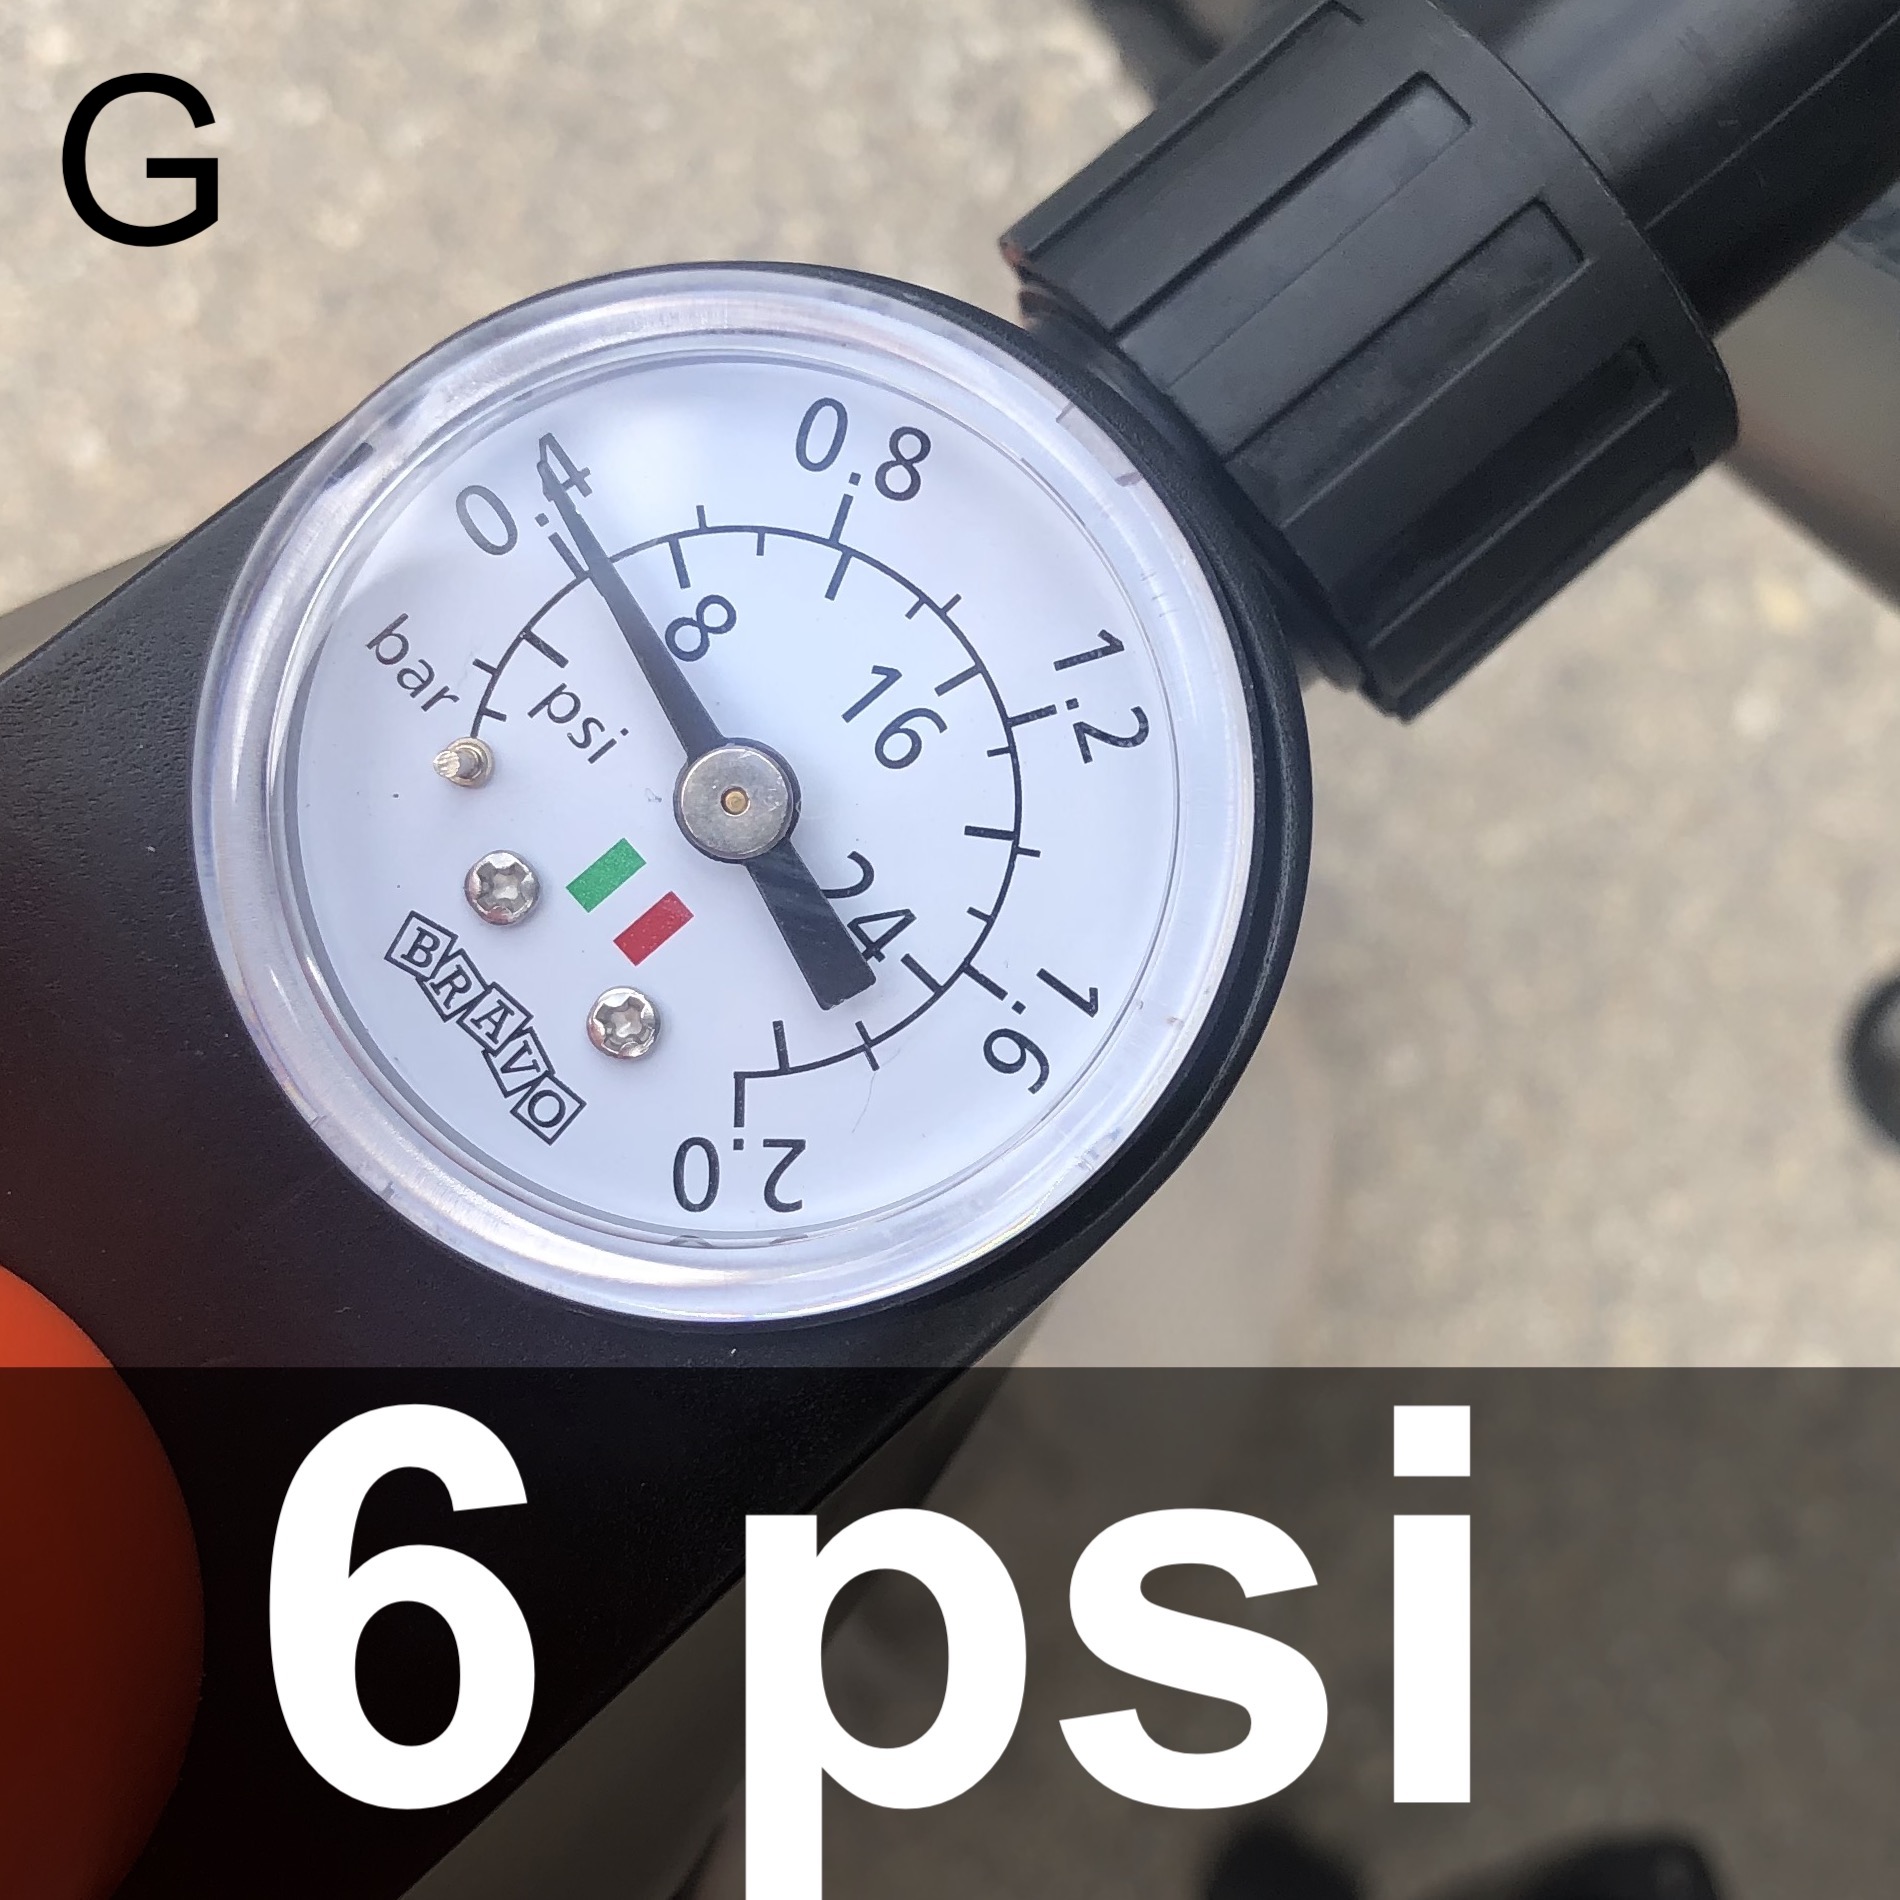
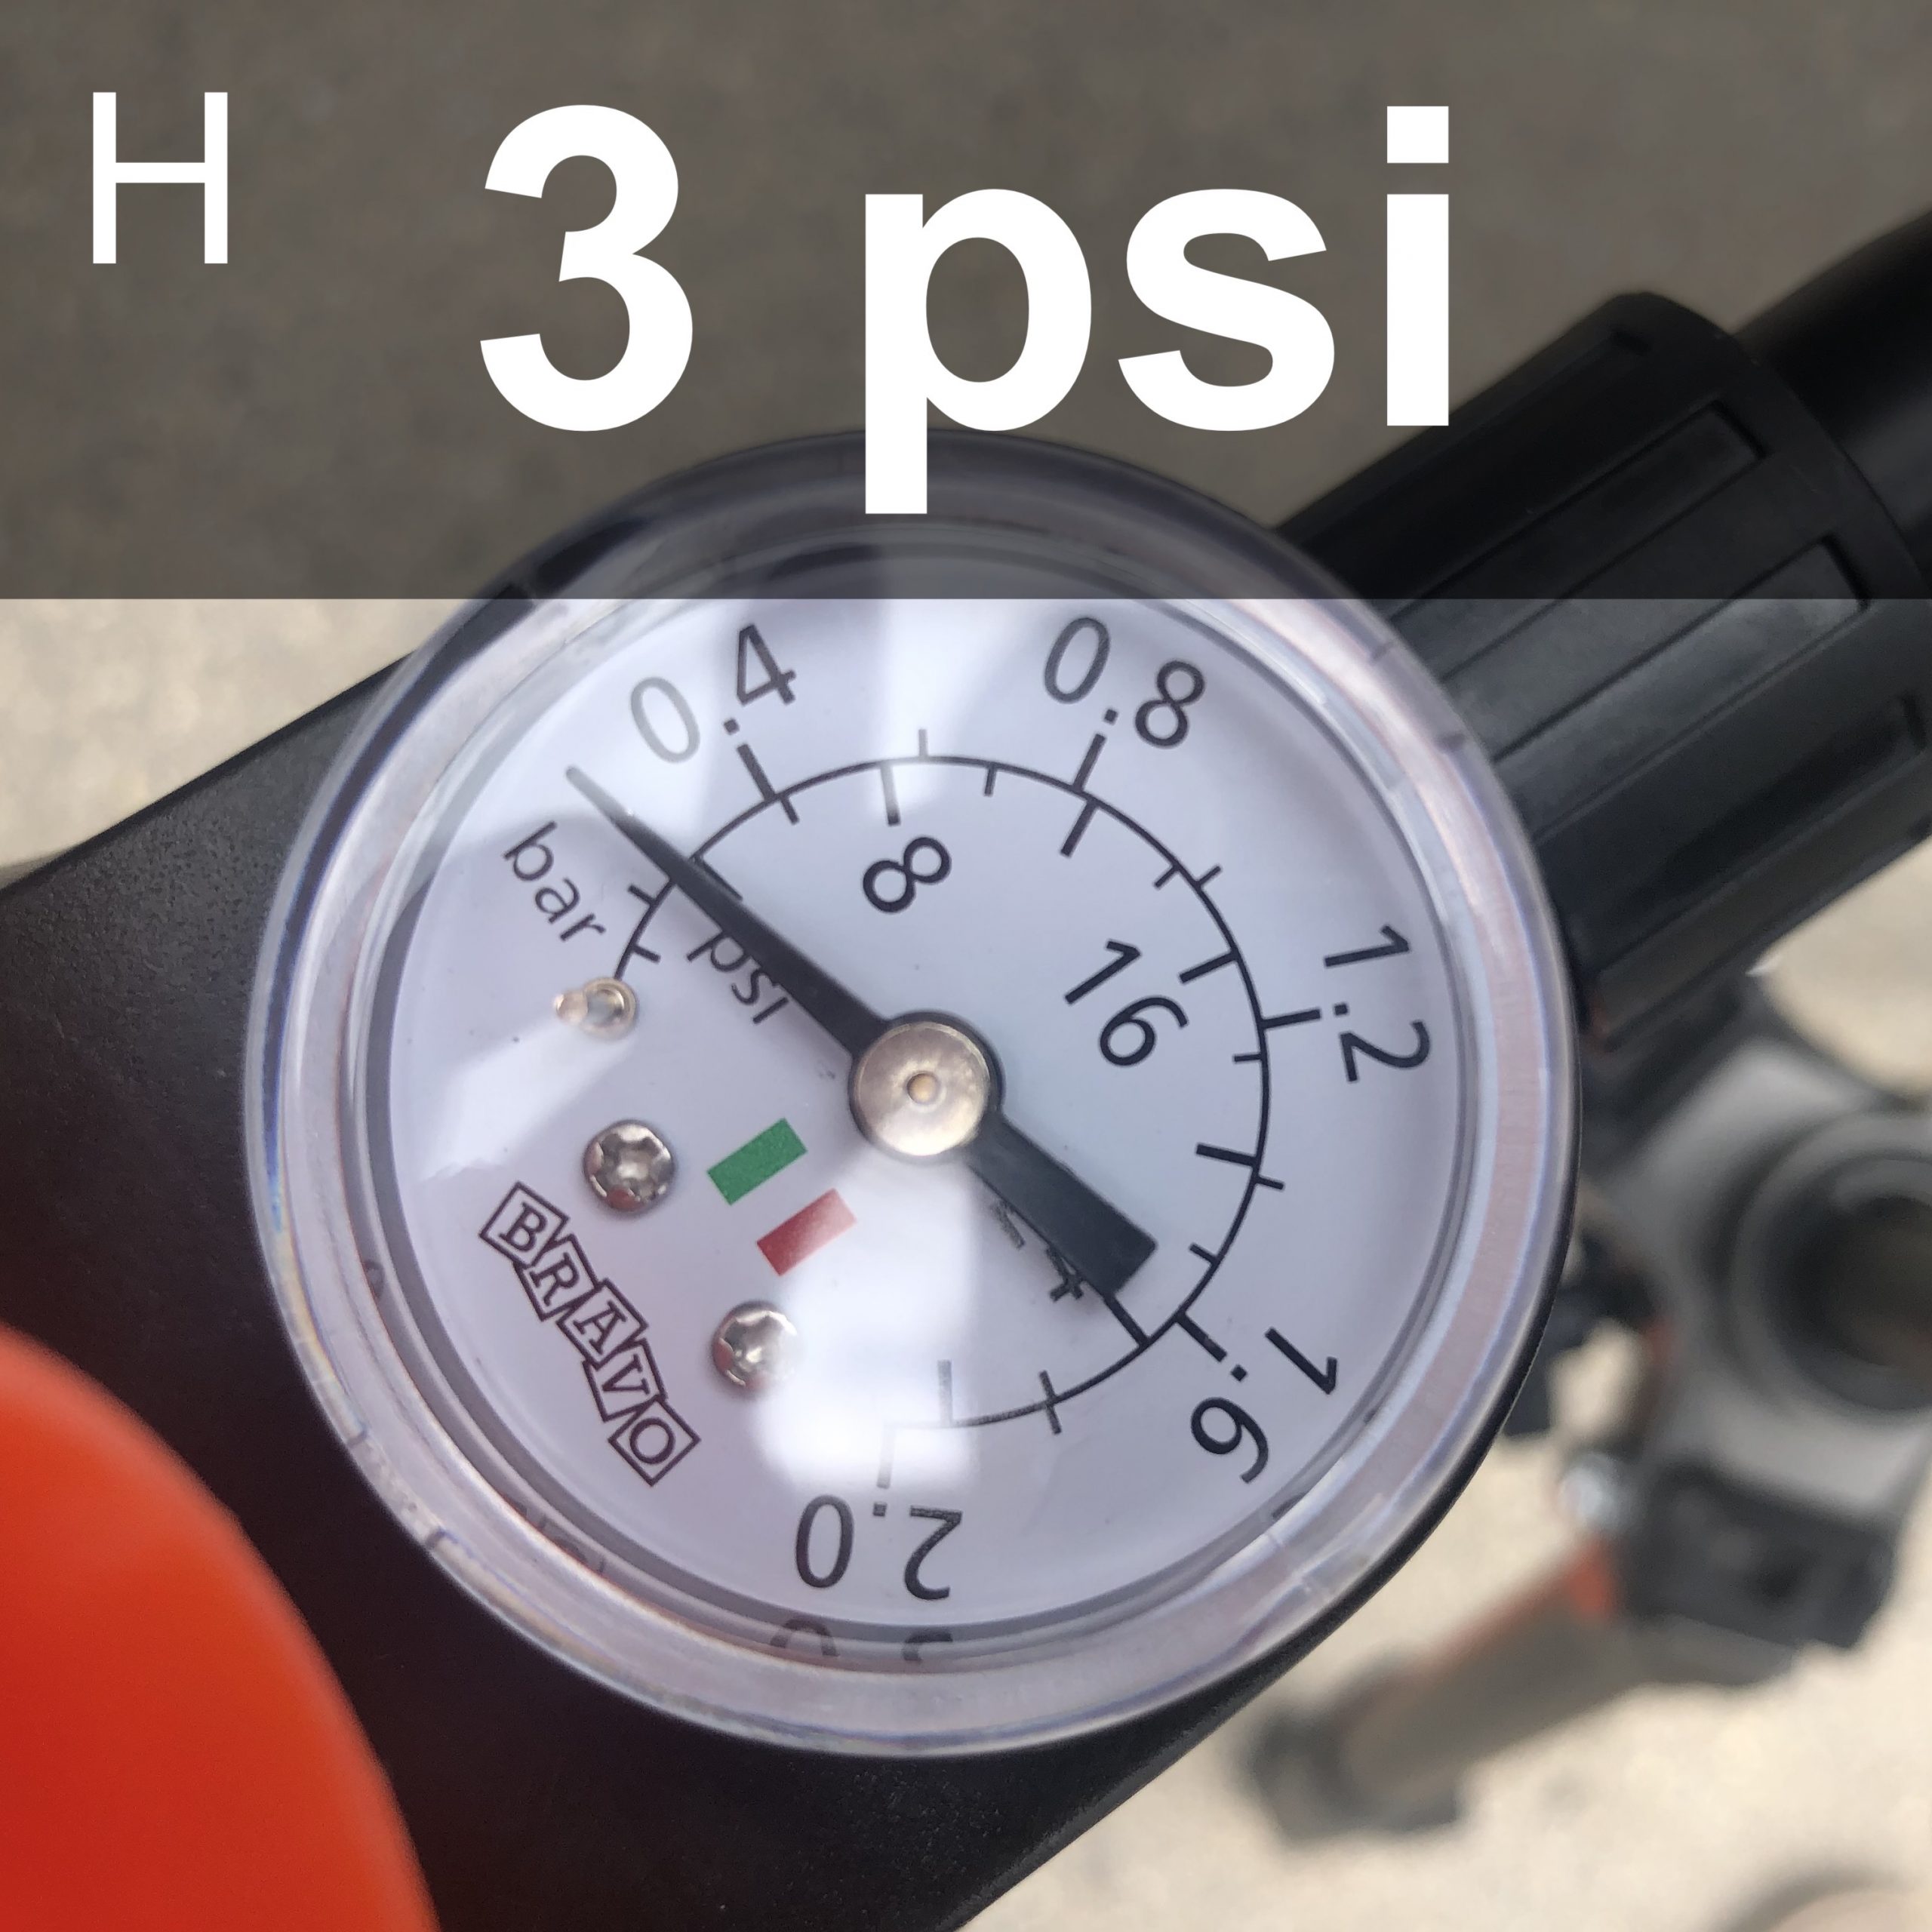
- Do not over inflate (no more than 3 psi on sides, and 6 psi on floor)
- Be aware that warm sun can cause the air within to expand. If the temperature outside increases please check the pressure and release excess air pressure
- Please return a clean kayak